Canva Brand Kit Tutorial (2023)

Canva’s brand kit makes it easy to maintain consistency across all your designs and create a professional-looking brand identity. From adding your brand colors and fonts to uploading your logo, Canva’s brand kit has got you covered.
In this post, we’ll take a closer look at Canva’s brand kit feature and provide you with a step-by-step tutorial on how to use it. Whether you’re a small business owner, marketer, or content creator, read on to learn how to create a brand kit in Canva and take your brand identity to the next level.
If you’re new to Canva Pro or looking to organize your graphics, read the tips below on setting up your brand kit in Canva.
How to Get Started with Canva Pro
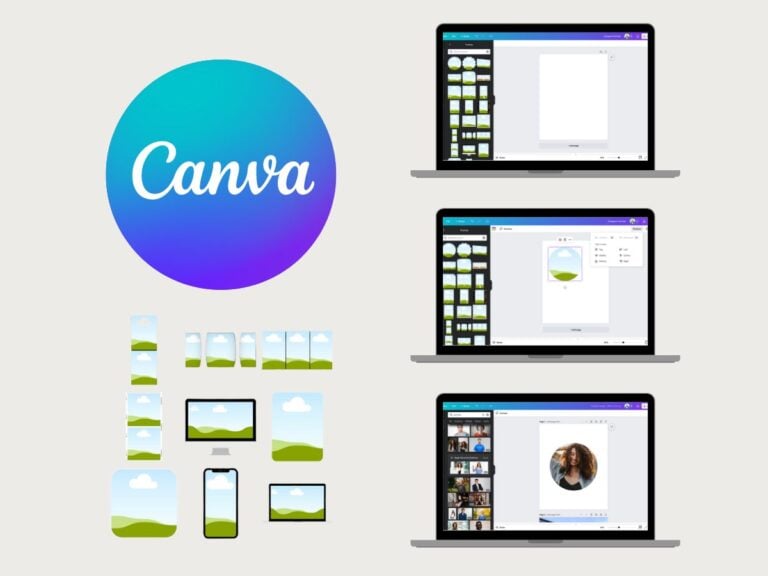
The first thing you want to do is head over to the brand kit so you can set your account up. This is what you will see after you log into your account.

Unleash your creativity with Canva Pro’s powerful design tools and unlimited access to premium content. Sign up now for a free trial and take your designs to the next level!
1) Plug In Your Brand Colors
The first thing I want you to do is set up your color palette for your brand. Go to coolors.co to generate a palette or plug in your palette.
I learned quickly that having 5 or 6 colors in your brand palette isn’t necessarily enough to create graphics. This could be my preference but I really liked having a variety of shades to choose from. Having them all saved is nice because I use all sorts of shades for my social media graphics.
So after selecting the shades I liked, I copied their HEX codes and pasted them into the palette section in Canva.

The picture below shows my main color palette plus additional shades for each of the main colors. It’s saved me so much time when I create new graphics!

2) Upload Your Business Logo
Another brand element that you can add to your brand kit is your business logo.
The dimensions for my business logo are 1,000 by 1,000 pixels. I made it a PNG file with a transparent background.
3) Upload Custom Fonts and Set Brand Fonts
In the Brand Kit, you can upload custom fonts if you’d like to. But there are plenty of fonts to choose from if you invest in Canva Pro!
Either way, you can add your preferred fonts to your brand kit. You can select the style and size of the headings, subheadings, and body text.
4) Create a Canva Folder for Your Business
After you add your brand colors and fonts to your Canva brand kit, the next thing that will help you is creating a folder to store all your brand-related photos and designs.
Within my business folder, I created a subfolder for my professional photos. Then I created a few subfolders for my designs that I use for my blog, social media, and lead magnets that I use to grow my email list.
Final Thoughts
That’s it! With Canva’s Brand Kit feature, you can easily maintain consistency across all your designs and create a professional-looking brand identity.
What do you love most about using Canva to design graphics? Let me know in the comments below!
Want to learn more about how to use Canva? Check out these guides!