Canva Tips and Tricks: A Beginners Guide
When I invested in Canva Pro, it was a game-changer for me! I realized that the possibilities are endless with this simple graphic design tool. It has opened up so many new opportunities and options, allowing me to create designs quickly and easily.
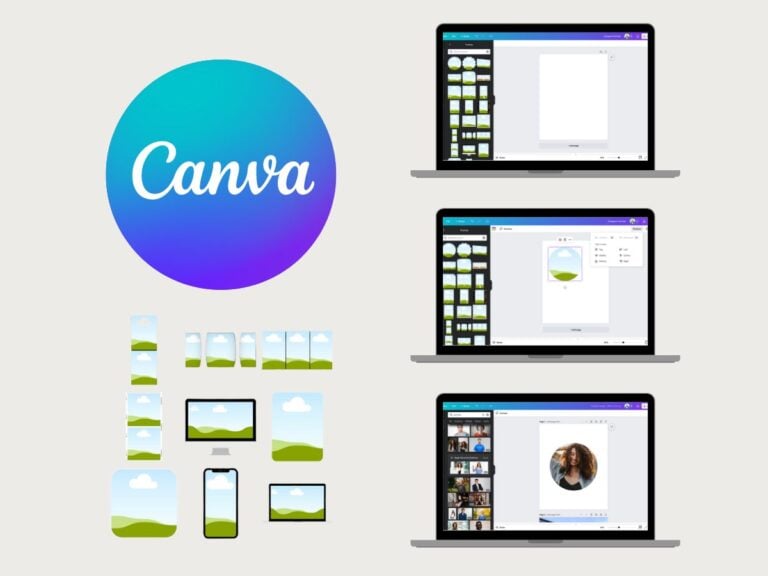
What is Canva?
Canva is an incredibly popular and user-friendly graphic design platform that enables beginners and professionals alike to create eye-catching visual content. With its extensive library of templates, elements, and other design resources, anyone can produce stunning designs without needing advanced design skills.
As with any graphic design tool, knowing the right tips and tricks can significantly improve your design experience and help you maximize Canva’s capabilities.
This article will explore some of the best Canva tips that will elevate your design skills and streamline your workflow. From utilizing the platform’s shortcuts to harnessing the power of its unique features, these tips will help you create captivating graphics that stand out from the crowd.
So, whether you’re a seasoned pro or just starting with Canva, these tips will boost your productivity and enhance your design results.
Getting Started with Canva
Creating an account
To begin your journey with Canva, start by creating an account or signing into your existing account.
Visit the Canva website, click on the “Sign up” button, and follow the prompts to register with your email, Google, or Facebook account.
Once you’ve signed up, you can access thousands of design templates and features.
Canva Pro vs free account
The free version of Canva has plenty to offer including fonts and elements for your designs. But if you can pay for Canva Pro, I highly recommend it! Here are some details on using Canva Pro vs a free account.
Canva Pro is a premium subscription version of Canva that offers advanced design capabilities and additional resources.
With Canva Pro, users can access thousands of premium templates, fonts, and stock photos. They can also collaborate with team members more efficiently by utilizing unlimited shared folders and real-time collaboration features.
Canva Pro also allows users to resize their designs quickly, saving valuable time and effort.
Creating a Brand kit
Aiming to maintain brand consistency, Canva offers the Brand Kit feature within its Pro subscription. With the Brand Kit, users can store their brand’s logo, colors, and fonts in one centralized location, making them easily accessible when creating new designs.
This ensures that all team members are using the same brand elements, supporting cohesive and professionally-styled content.
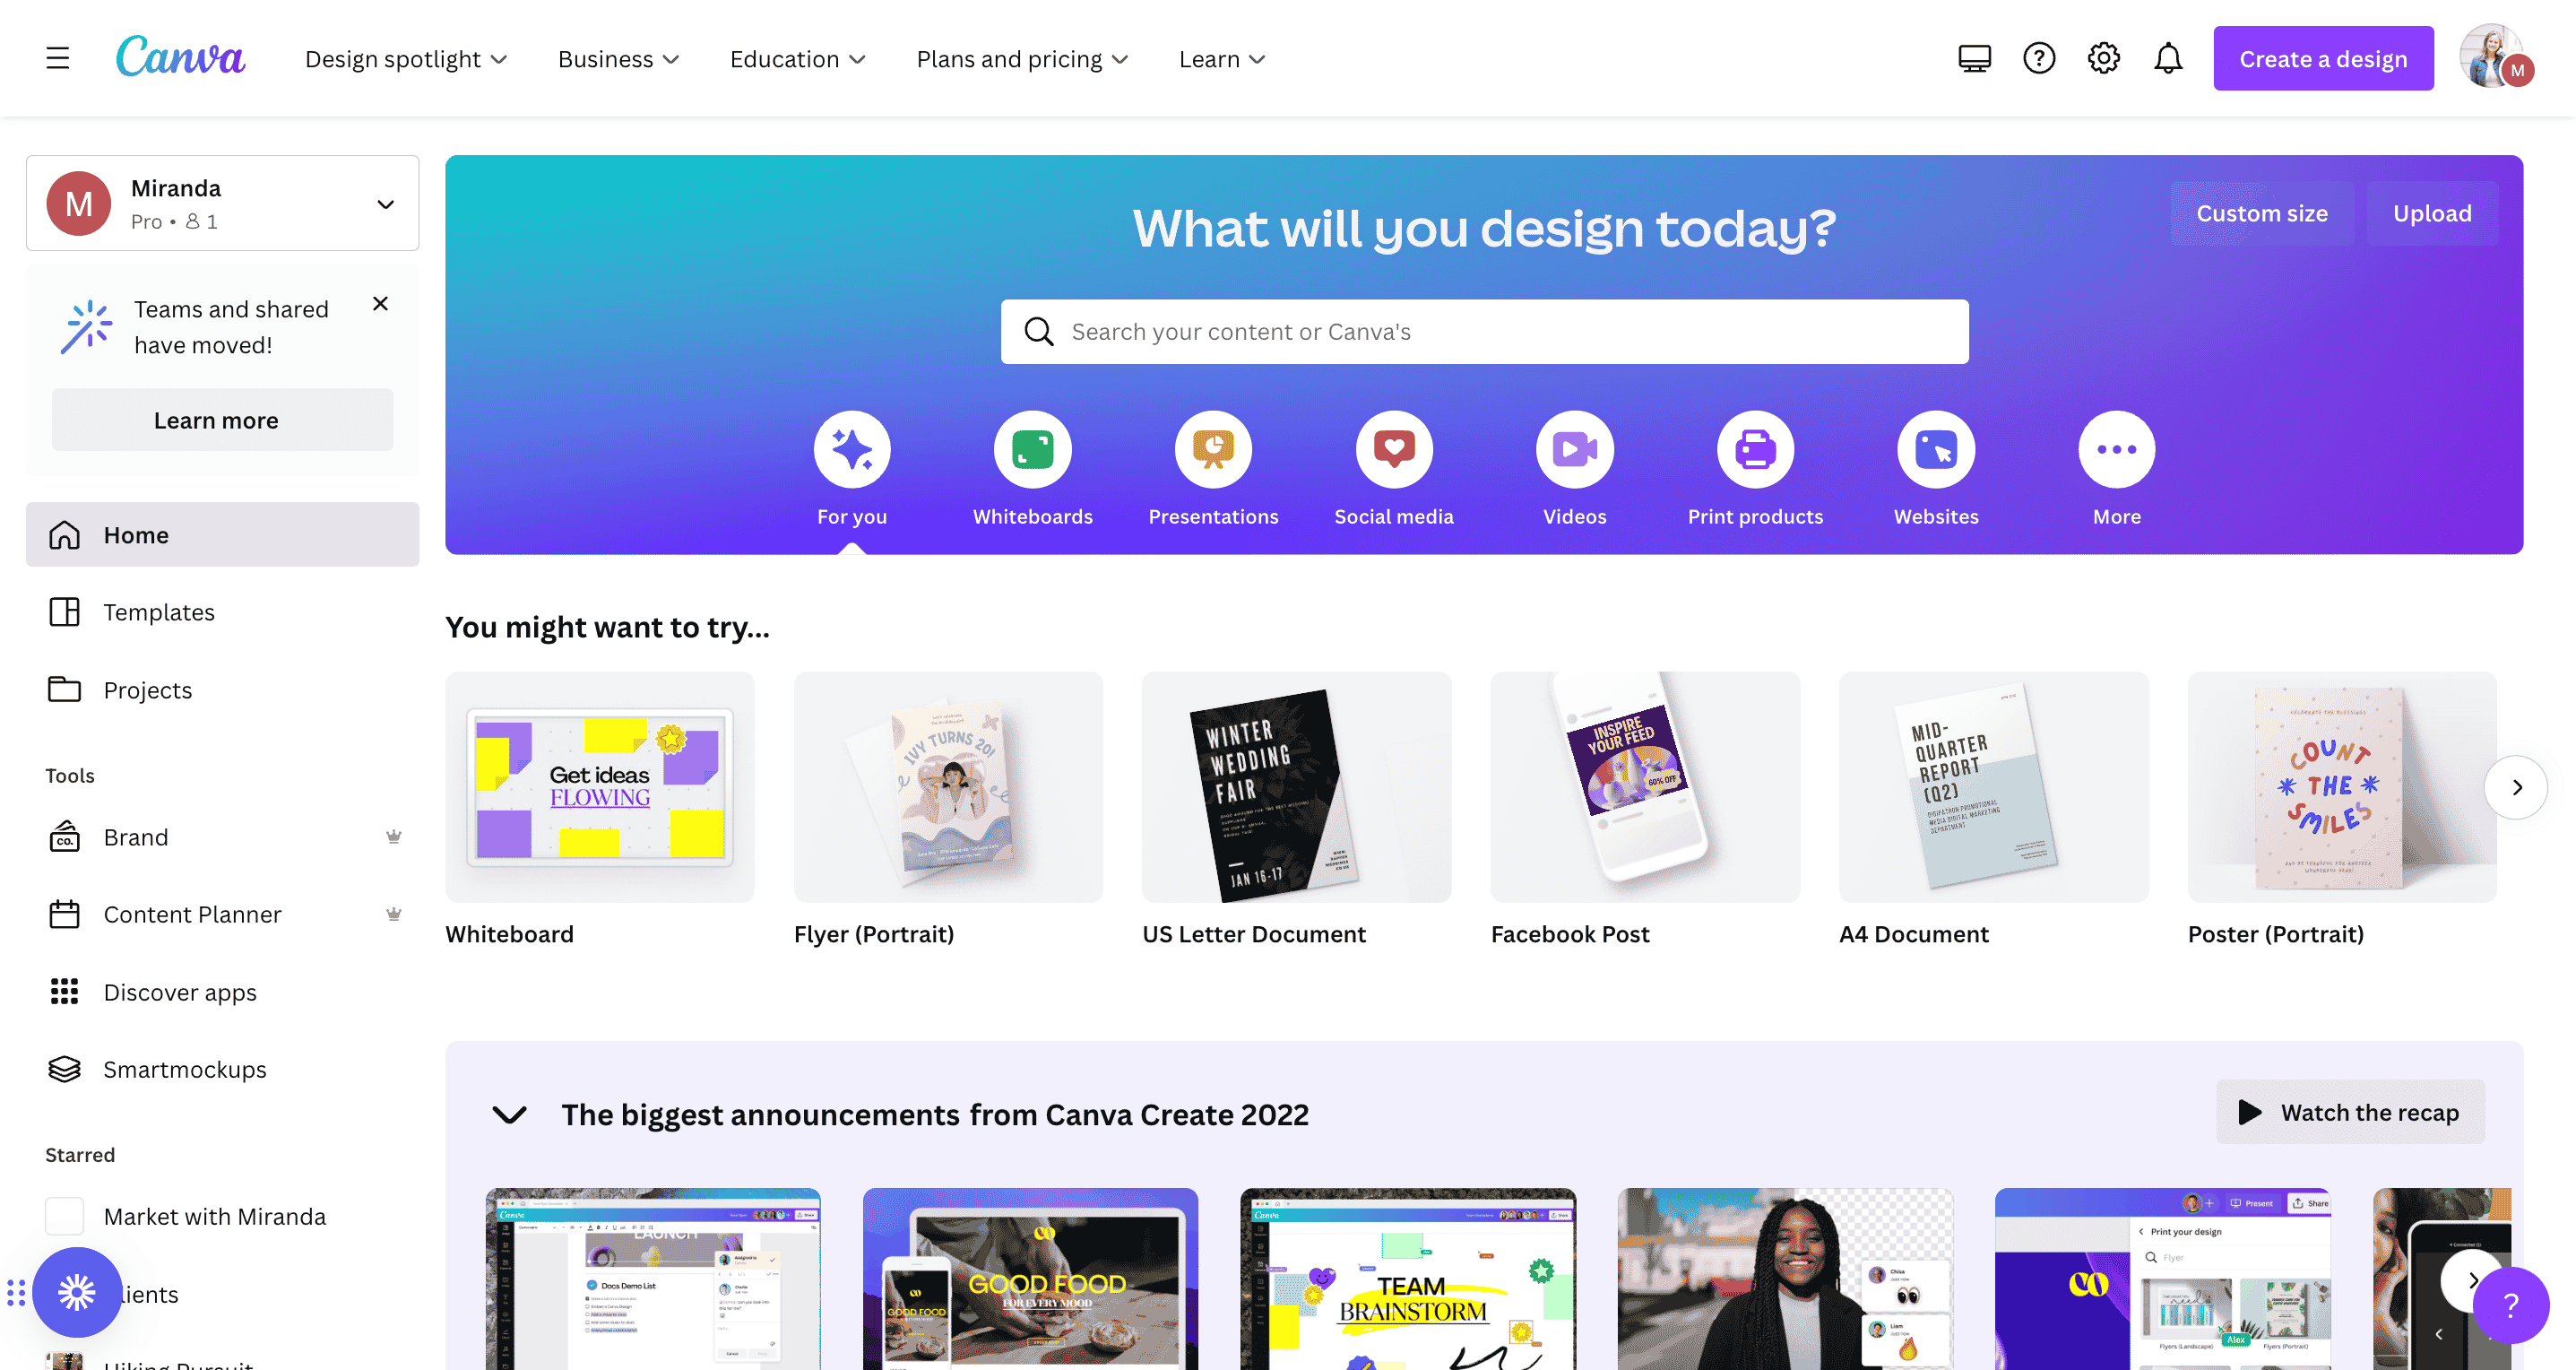
Choosing a design template
Canva offers a wide variety of design templates, making it easy to find the perfect one for your project.
Access these templates by clicking on the “Templates” tab in the top menu. They are organized into various categories, such as social media, presentations, and marketing, to help you quickly find your needs.
If you prefer to start from scratch, you can choose the right dimensions for your design. On the Canva homepage, select your desired design type or search for “custom size” to input custom dimensions.
Then, you can utilize Canva’s drag-and-drop features, editing tools, and vast library of elements to create your unique design.
Pairing fonts
Selecting the right font pairings is crucial for your design’s effectiveness. Canva Learn suggests limiting your typefaces to two or three that complement each other in style and readability.
Experiment with different combinations, and remember that contrasting font styles can create a dynamic and sophisticated look.
For inspiration on pairing fonts, check out these posts!
- 20 Best Canva Fonts to Use on Instagram
- 23 Inspiring Canva Fonts That Go Together
- 37 Best Cursive and Calligraphy Fonts on Canva
Selecting colors
Colors play a significant role in setting the mood and tone of your design. Choose a color palette that aligns with your brand or project’s goals. Canva offers a variety of pre-made color schemes to help you find the perfect combination.
Consider using contrasting colors for text and backgrounds to ensure readability, and stick to a limited color palette for a cohesive look.
Incorporating visual hierarchy
Visual hierarchy refers to the arrangement of design elements based on their importance. To create a compelling layout, prioritize key visuals and text by adjusting their size, color, or positioning.
Some tips for incorporating visual hierarchy in your Canva designs include using larger font sizes for headers, bolding important phrases, and using color to draw attention to specific elements.
Navigating the Canva interface
Workspace
The Canva workspace is the main area where you create and edit your designs. You can easily add elements, such as images, text, and graphics by dragging and dropping them onto the workspace.
Select a template from the thousands available to create a design or start from scratch with a blank canvas.
It’s essential to familiarize yourself with the workspace’s controls to make your designing process efficient. You can quickly zoom in and out, undo and redo changes, and manage layers using the controls in the bottom-right corner.
Toolbar
At the top of your workspace, you’ll find the toolbar, which provides various options and tools for editing and customizing your design. Some of the main features available in the toolbar include:
- Uploading images from your device
- Adding custom fonts and text formatting
- Selecting pre-made elements, such as shapes and icons
- Adjusting images with filters and cropping tools
Utilizing the toolbar effectively will streamline your experience and provide you with easy access to many popular features and tools that Canva offers.
Panels
On the left side of the interface, you’ll find a series of panels that provide quick access to various elements and tools. These panels include:
| Panel | Description |
|---|---|
| Templates | Choose from a wide variety of professionally designed templates to get started on your design. |
| Elements | Browse various graphical elements, such as shapes, icons, stickers, and more, to add to your design. |
| Text | Add and customize text with various font styles, sizes, and text effects. |
| Backgrounds | Choose from a selection of solid colors, gradients, and patterns to set as your design’s background. |
| Styles | Easily apply premade color and font combinations to your entire design for a cohesive look. |
Use these panels to quickly access the features you need and incorporate them into your design, saving time and enhancing your productivity.
Working with Images
Uploading
To upload an image in Canva, begin by selecting the “Uploads” tab on the left side of the editor. Click the “Upload an image or video” button and choose a file from your computer or device.
You can also drag and drop files directly into the Uploads area. After uploading, simply click on the image thumbnail to add it to your design.
Editing image properties
Edit various properties of the image, such as size, rotation, and cropping. To resize, click on the image and drag the corners or edges to adjust the dimensions.
To rotate, hover over the circular arrow icon near the image’s top-right corner and drag in either direction.
To crop, double-click the image and adjust the cropping handles until you achieve the desired result. Confirm the crop by clicking “Done” or pressing the Enter key.
Adding effects
Enhance your images by applying filters and adjustments. Select the image you want to edit and click the “Effects” option in the toolbar.
There, you can explore various image effects available in Canva, such as:
- Blur: Soften the image and create a dreamy effect.
- Brightness: Increase or decrease the overall brightness of the image.
- Contrast: Make the colors more or less pronounced by adjusting the contrast levels.
- Saturation: Intensify or subdue the colors by modifying the saturation.
Experiment with these effects to achieve the desired aesthetics for your design. Remember to keep the image properties and effects consistent throughout your project to maintain a cohesive look.
Best Canva Hacks
1. Using grids and frames
Grids and frames are essential tools in Canva that help create balanced and visually appealing designs.
Grids allow you to align and organize elements in a structured manner, while frames let you add images and photos in a predefined shape or style. Both tools can enhance the look of your designs and make them more professional.
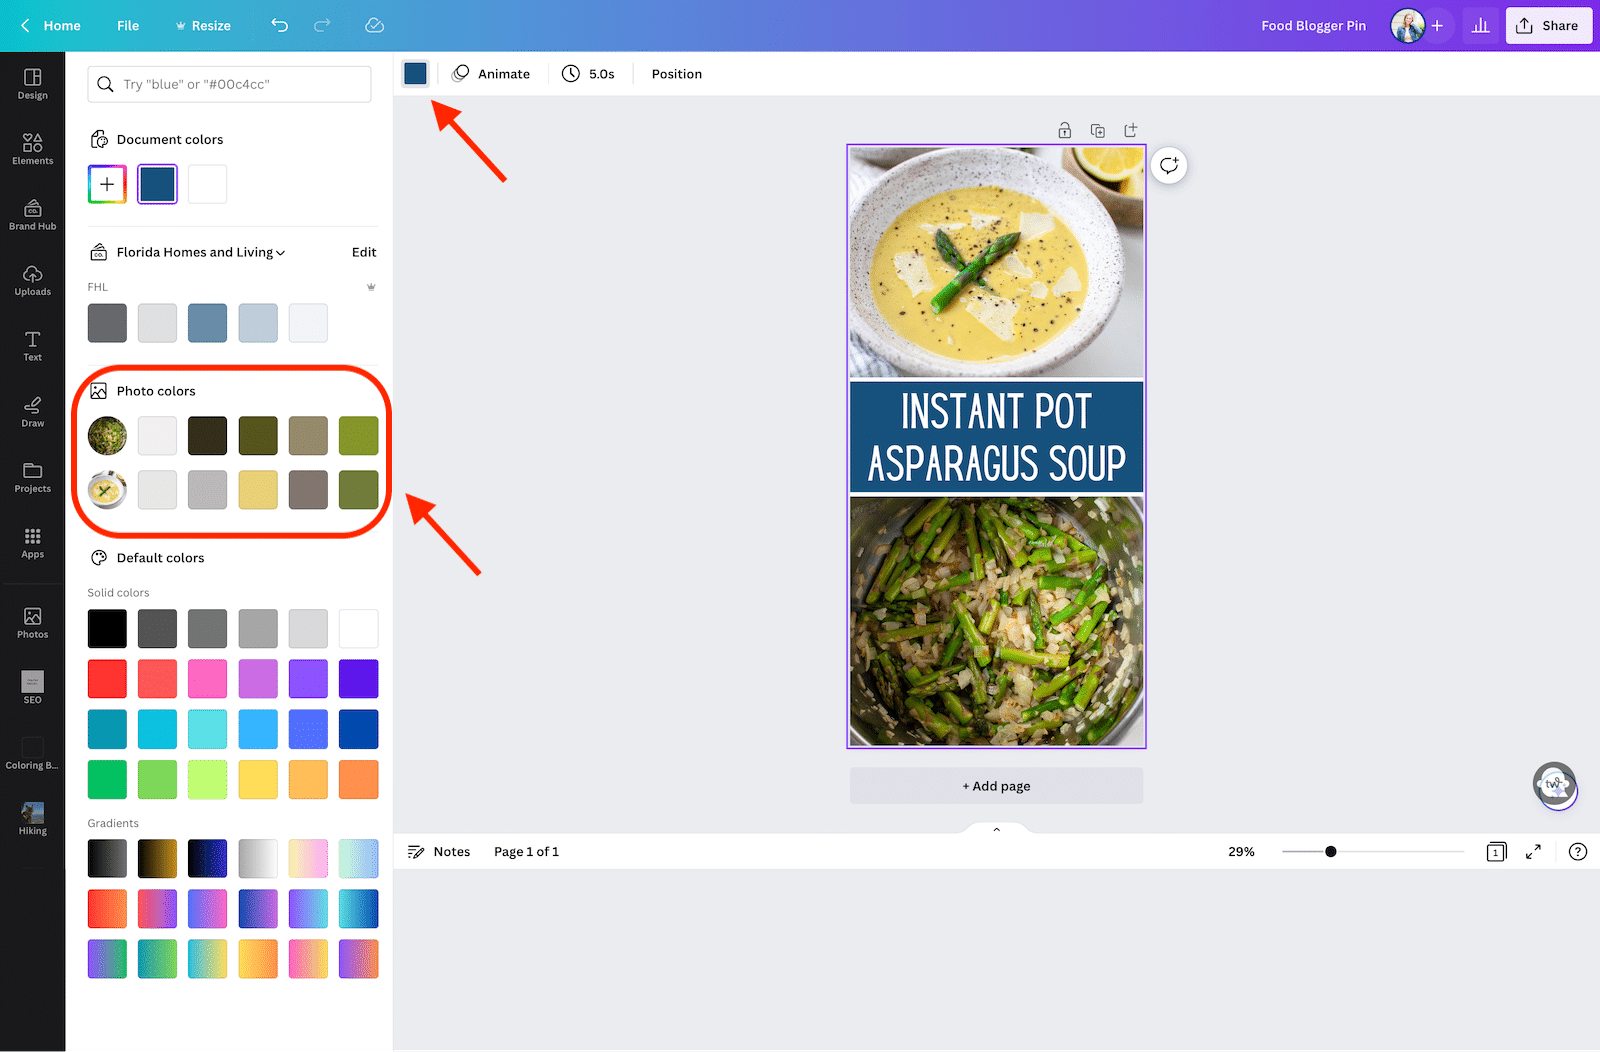
2. Match colors with your photos
Choosing the right font color for the text on your design is not always easy. So, here’s a little tip to somehow help you make the decision.
Unify colors in your image for a cohesive and stunning look.
For instance, if your background includes a vibrant red color, then it might be smart to employ the same hue for your text.
A simple way of achieving this is by using a color picker tool to acquire the code and pasting it on Canva’s convenient color feature.
3. Group elements together
If you’d like to group together a few elements in your design, it only requires a few clicks! Start by clicking your mouse near the elements you want to combine. Move the cursor across the screen so all of the elements you want to group together are highlighted in purple.
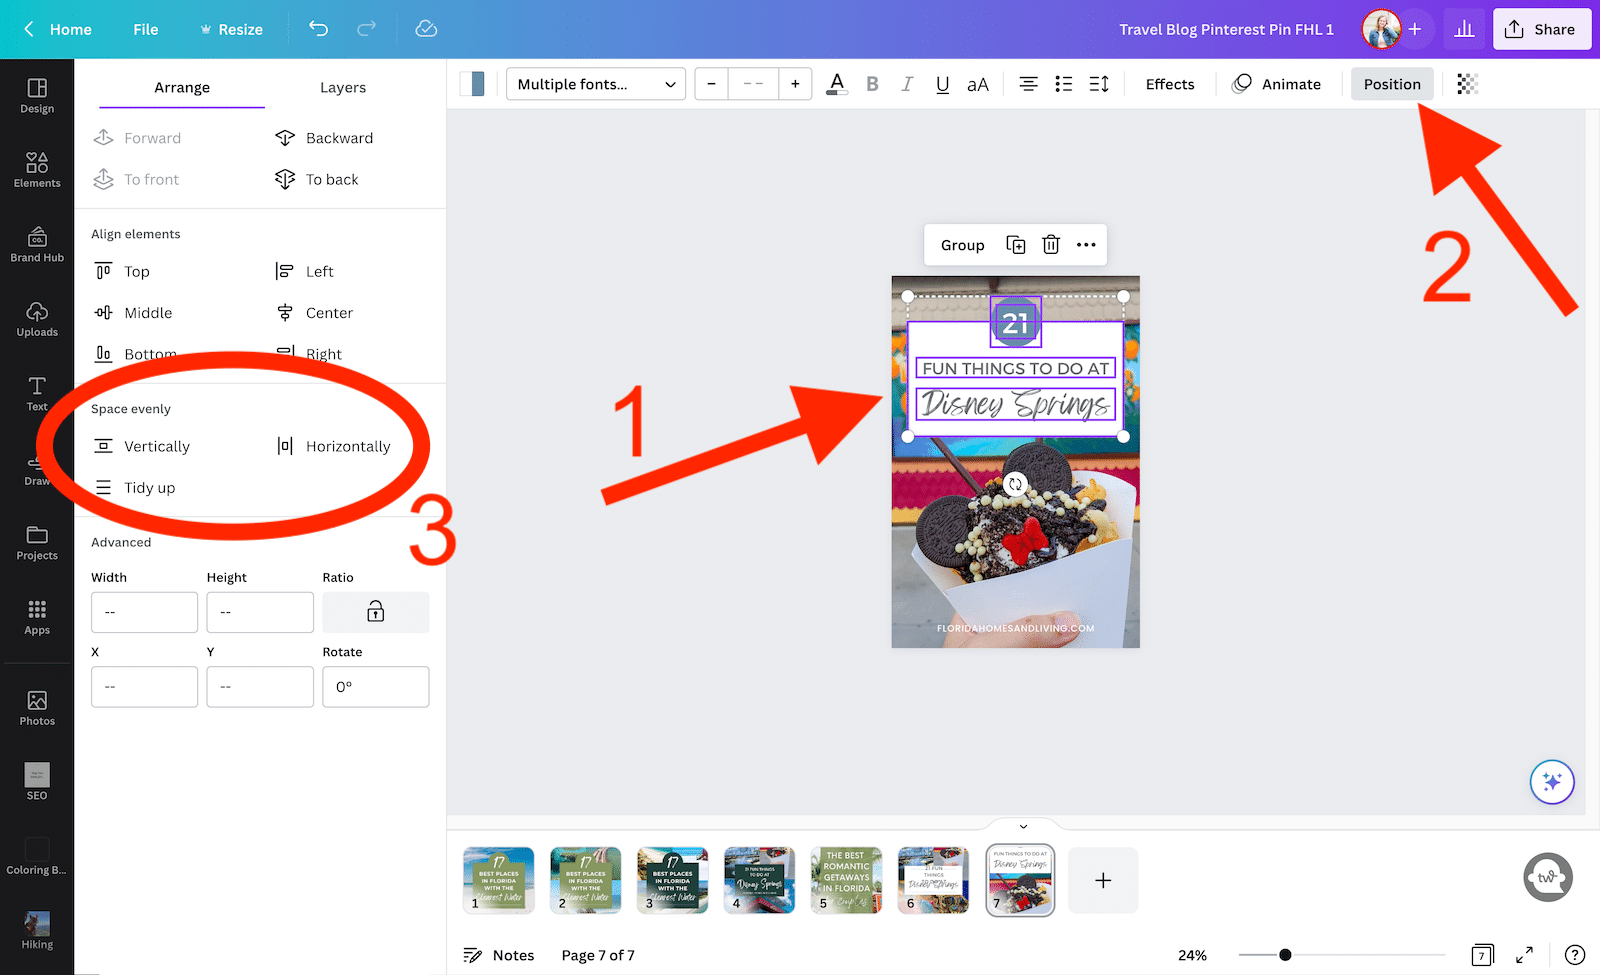
4. Tidy up elements
With the Positioning function, tidying up a large number of items is just one click away.
- Simply select all your groupings
- Click the Position button near the top-right corner
- A menu will appear on the left-hand side of your screen, where you will select from one of three options in the “Space evenly” section: vertically, horizontally, or tidy up.
5. Play with transparency
Canva allows you to adjust the opacity of images and text, a feature that can take your design from flat to fascinating. By manipulating transparency levels, you’ll create depth and intrigue to your designs.
Simply click on an element within your design, and then select the Transparency button. You can move the toggle up and down from there to adjust the opacity.
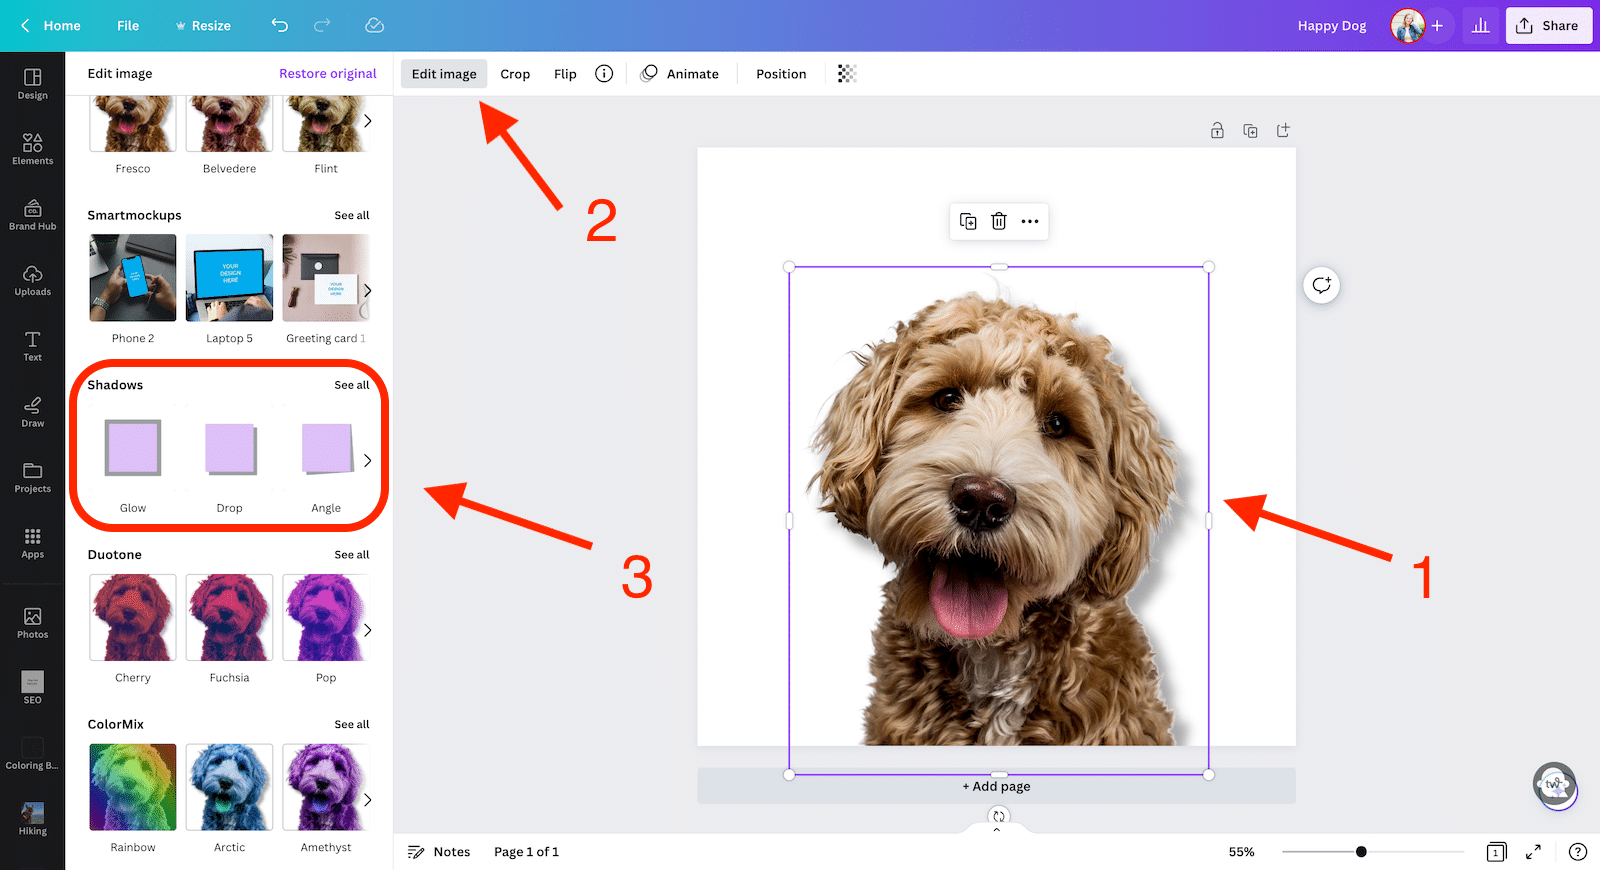
6. Use the shadow effect
Applying a shadow effect to your text is just one click away in the workspace, and you can also quickly add this aesthetic touch to elements and photos.
For this task, choose an image or element and then opt for the edit image option.
To add a shadow to an element’s surroundings, simply search the ‘Shadow’ feature and select the Drop tab. The process is automated, making it quick and hassle-free!
Create a custom look for your project and maximize its impact with special shadow effects such as offset, angle, transparency, blur, and color options that work both on the Canva elements or imported images.
7. Use keyboard shortcuts
Using keyboard shortcuts can save you time! Here are a few that I use when creating designs:
- Open font menu: Shift?F
- Find and replace: ?F
- Bold text: ?B
- Italicize text: ?I
- Underline: ?U
- Uppercase: Shift?K
- Left align: Shift?L
- Center align: Shift?C
- Right align: Shift?R
- Numbered list: ?Shift7
- Bulleted list: ?Shift8
For the full list of keyboard shortcuts, go to Canva.com!
Collaboration and Sharing
Collaborating and sharing your Canva designs with others is a key feature that enhances your design process and fosters teamwork.
This section will guide you through inviting team members, sharing designs, and exploring publishing options when using Canva.
Inviting team members
With Canva for Teams, it’s easy to invite your colleagues to work together on your designs. To begin, create a team or several teams, depending on the size and structure of your organization.
Once you have a team set up, you can invite others by sending them team-specific links, design folders, or sending invitations through email. Having different teams in place allows for better organization and collaboration across multiple projects.
Sharing designs
Once you have a design you’d like to share with others, follow these simple steps:
- Open the design you want to share.
- Select Share in the editor.
- Select the Collaboration Link dropdown, then choose Anyone with the link.
- Select the next dropdown, then choose the Can edit option. This allows recipients to edit the design. For view or comment-only privileges, select Can view or Can comment options instead.
- Select Copy link.
These steps will create a shareable link for your design, which can be sent to your collaborators. Once they have the link, they’ll be able to access and work together on the shared design. For more detailed instructions, visit this Canva Help article.
Publishing options
After completing your design, Canva makes publishing and sharing your work in different formats easy. When you’re ready to share your design, select the Download option in the upper-right corner.
Depending on your requirements, you can choose various file types, such as PNG, JPEG, PDF, or GIF.
For social media sharing, Canva has built-in features for direct sharing to platforms like Facebook, Twitter, LinkedIn, Pinterest, and more.
For tasks like printing and creating presentations or videos, Canva also offers unique publishing options, such as Print-Ready PDFs and animated video formats. These features make it easy to showcase your work in a variety of settings.
Advanced features and integrations
In this section, we will explore some of the most powerful features and integrations Canva has to offer, allowing users to maximize their design potential and streamline their workflows.
These advanced features include Canva Pro, Content Planner, Brand Kit, and integration with third-party services, which we will discuss in the following sub-sections.
Content Planner
The Content Planner tool available for Canva Pro users enables efficient planning and scheduling of social media posts.
By connecting Canva to social media platforms like Facebook, Twitter, LinkedIn, and more, users can create designs and schedule them for publication.
This helps maintain a consistent posting schedule and lets users manage their social media calendar within the Canva platform.
Integration with third-party services
Canva provides seamless integration with various third-party services, which extends its capabilities and improves productivity. For example, Canva Developers allows users to integrate their tools or build new ones within the Canva ecosystem.
Additionally, the platform’s integration with stock photo websites, social media platforms, and file-sharing services such as Google Drive and Dropbox makes it easier for users to access and save their designs across multiple platforms.
Want to learn more Canva tips and tricks? Check out these posts!
- Canva Brand Kit Tutorial (2023)
- How to Use Frames in Canva
- How to Curve Text in Canva
- 125 Best Canva Keywords for Elements
- 37 Best Cursive and Calligraphy Fonts on Canva
Conclusion
In summary, Canva is a versatile and user-friendly design platform with many features for beginners and professionals alike.
As you continue using Canva, developing your style and techniques is important – this will help you create consistent and captivating visual content.
Experiment with different elements, templates, and color schemes to discover what resonates best with your target audience and serves the purpose of your designs.
Remember that mastering Canva, like any graphic design tool, takes time and practice. The more you explore its functionalities and experiment with its features, the better equipped you’ll be to create stunning designs that effectively communicate your message.